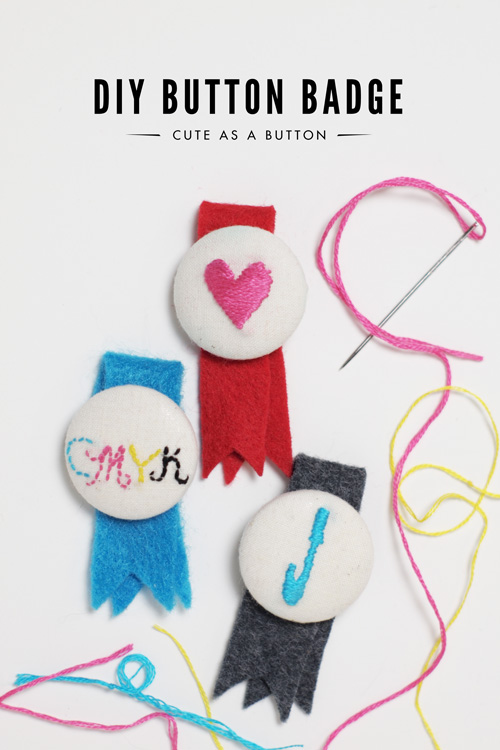
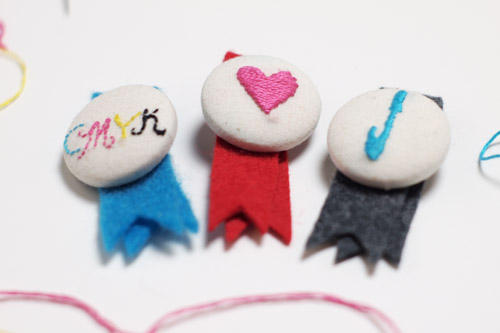
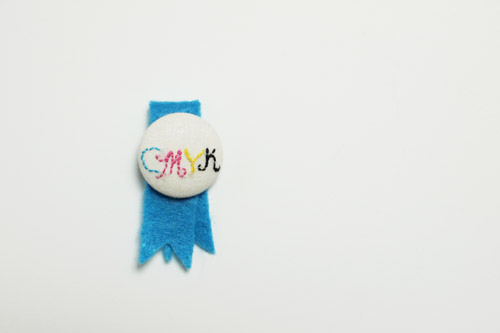
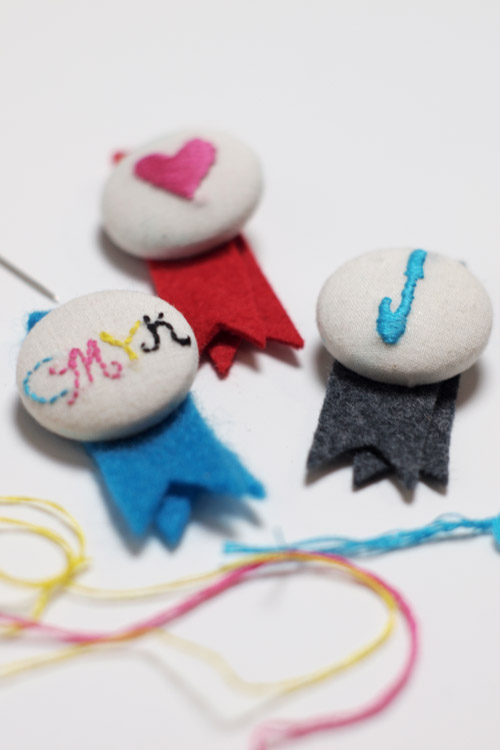
I’ve been itching to make something the past few days. It’s been a while since I’ve done a good DIY. On Monday I posted some embroidered typography that I completely fell in love with. I wanted to give embroidery a try, but knew it needed to be something simple (at least for now) since I’ve never done it before. I came up with these button badges and I couldn’t be more thrilled with how they turned out! I’d say they’re as cute as a button (pun intended). I started with the CMYK one, but then I just couldn’t stop so I made 2 more! I think these would make the cutest boutonnieres for a wedding. You can just about embroider anything you want.
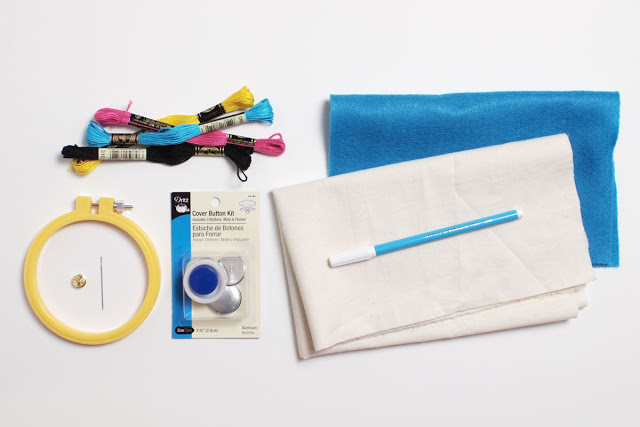
You will need:
- Embroidery Floss
- Embroidery Hoop (optional)
- Needle
- Embroidery Transfer Pen
- Cover Button Kit (1 1/8″ or desired size)
- Brass Tie Pin (in the jewelry section)
- Fabric (I used cotton muslin)
- Felt
- Scissors
- Glue ( I like Gorilla Glue)
- Pliers
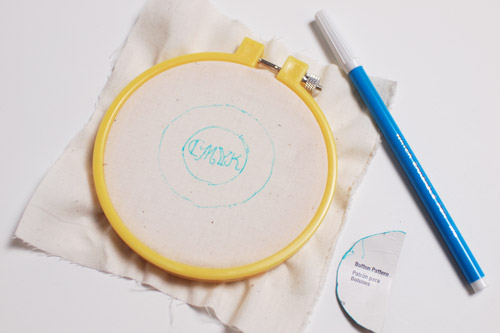
STEP 1: Trace the button pattern from the back of your button kit onto the fabric. Then trace the button inside of that circle–that way you know what space you have to work with. Now you need to trace your design onto the fabric. You can either print it out and use a window to trace it on your fabric, or simply just draw it right on using the transfer pen. Once you have traced everything, place your fabric in the embroidery hoop (if you are using one).
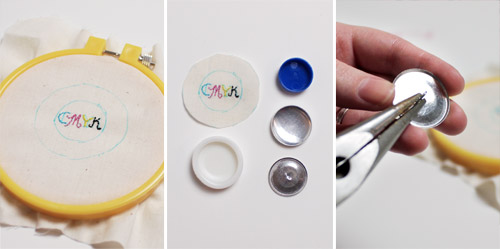
STEP 2: This is the fun part. Thread your needle and start embroidering your design! For the smaller designs I split the floss in half because I thought all of the stings made it too thick. One of our readers told me about Sublime Stitching. You can check that out to learn all kinds of different stitches.
STEP 3: Once your design is beautifully stitched (which I know it will be) cut it out around the outermost circle.
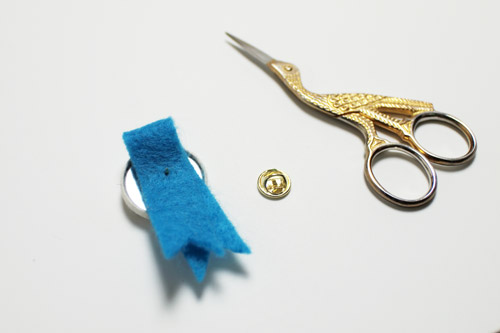
STEP 4: Now take your pliers and your button back and pull off the hoop that is used for sewing the button on clothes. It’s pretty easy to take off, just wiggle it back and forth a little with the pliers.
STEP 5: Assemble your button using the directions that came with your kit. The hardest part is making sure your design stays centered on the button while putting all the pieces together. Before you snap the back all the way in you can carefully peek and double check if it’s positioned where you want it.
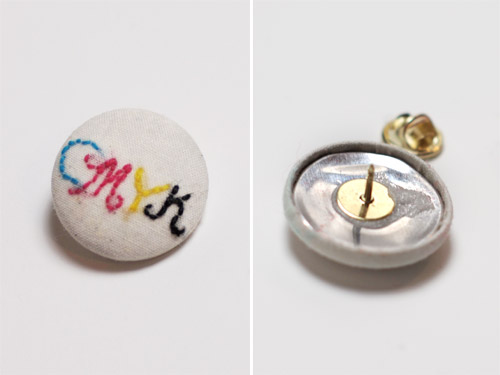
When it’s all put together spray it lightly with water and magically the blue marker disappears!
STEP 6: Now we need to add the pin on the back. Squeeze a dot of glue on the back of your button and place the pin on top. The back isn’t very flat because of where the hoop was. That’s why I like Gorilla Glue because it expands while drying and fills in any gaps. Just be sure to use sparingly.
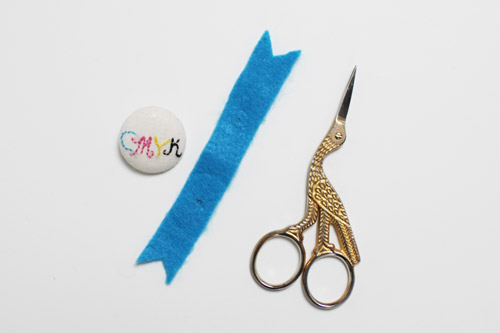
STEP 7: Cut a strip of felt 5″ x 1″ and cut triangles into each end.
STEP 8: Fold the felt in half and place it on the back through the pin.
Now isn’t that cute? If you make one, let me know. I would love to see what design you came up with. And Katie I expect yours to be extra awesome ;).
