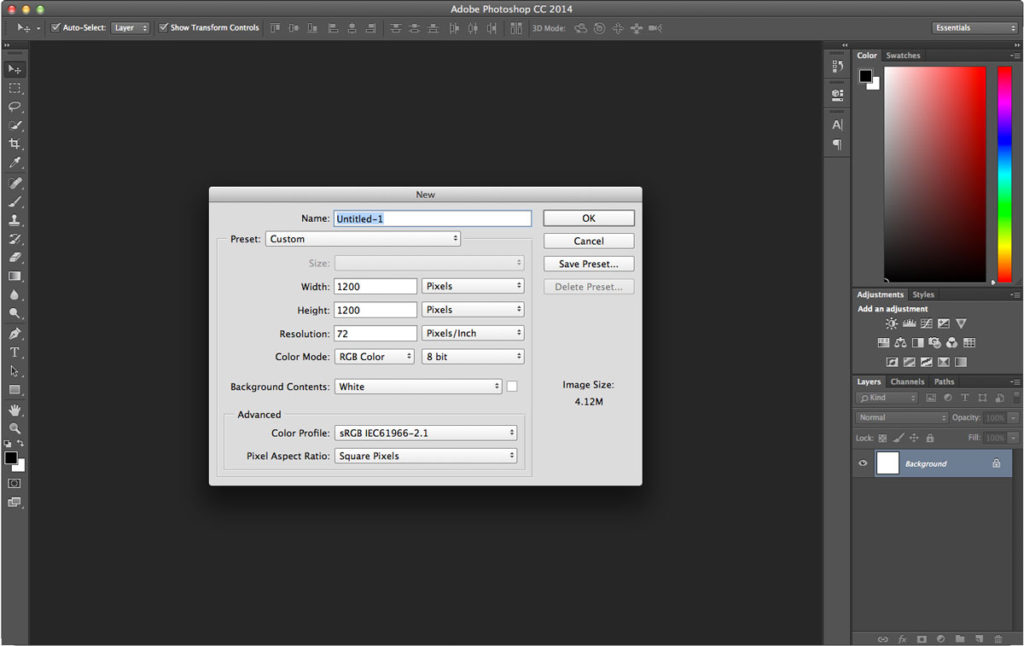
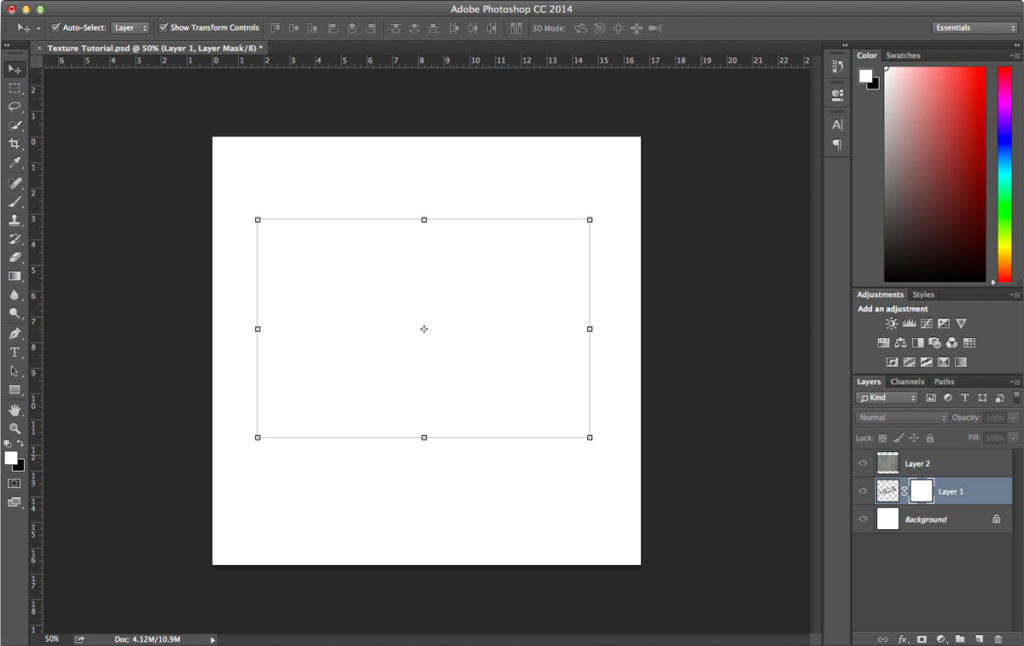
STEP ONE: Start by opening up a new document in Photoshop at whatever size you need. For this project I’m only going to be using this image on the web so I set up my file as 1200px x 1200px at 72dpi.
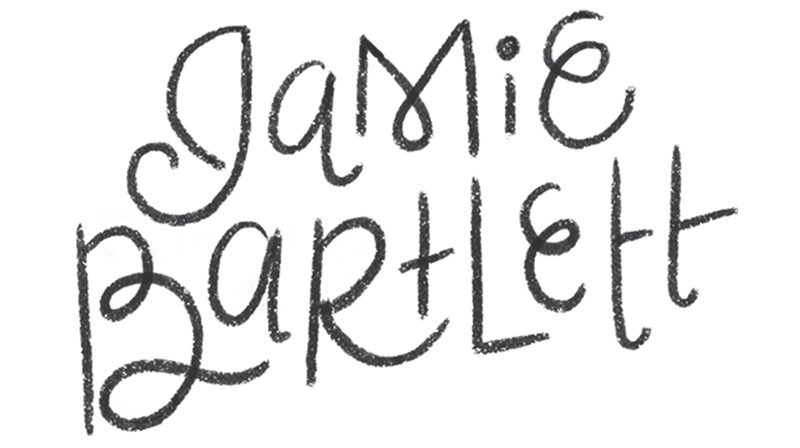
STEP TWO: On a new layer add in the type/lettering you want to put texture on.
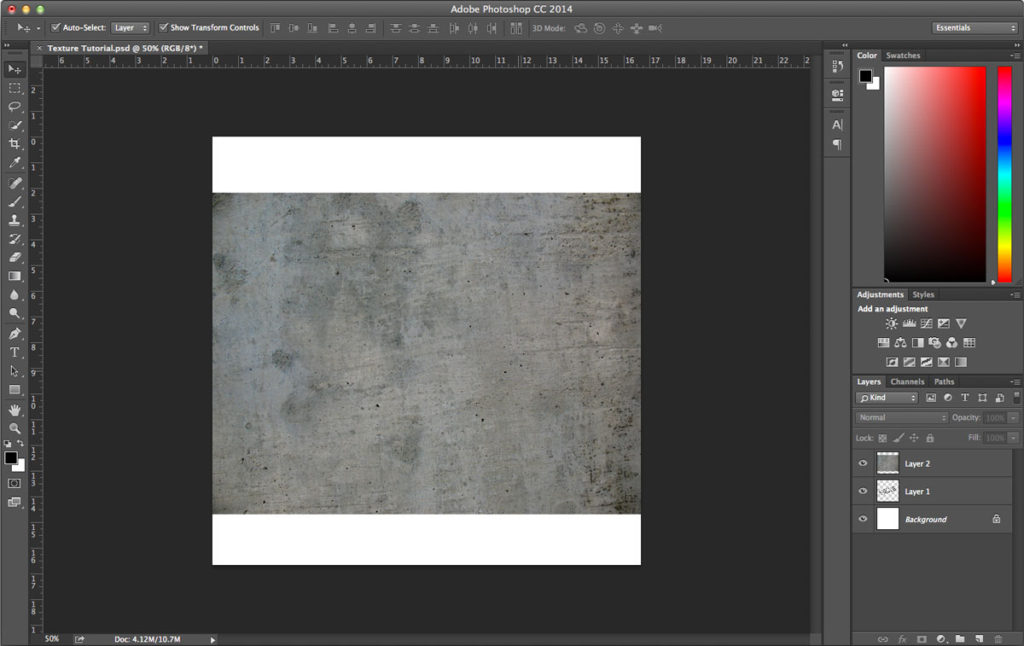
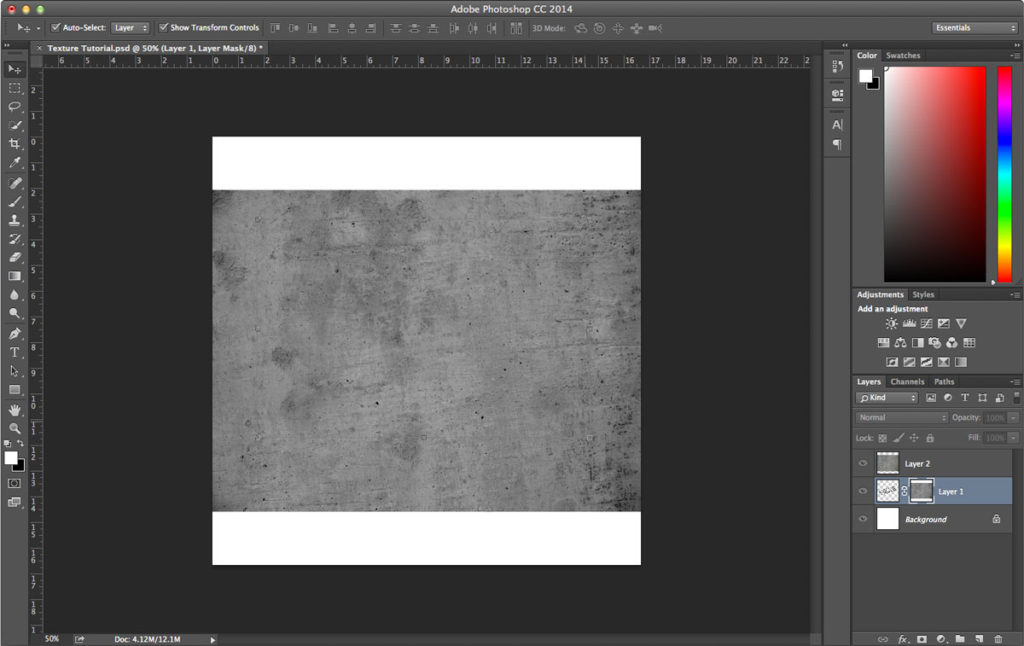
STEP THREE: Put your texture on your canvas. For this project I did a quick google search for concrete texture then copied and pasted it straight from google.
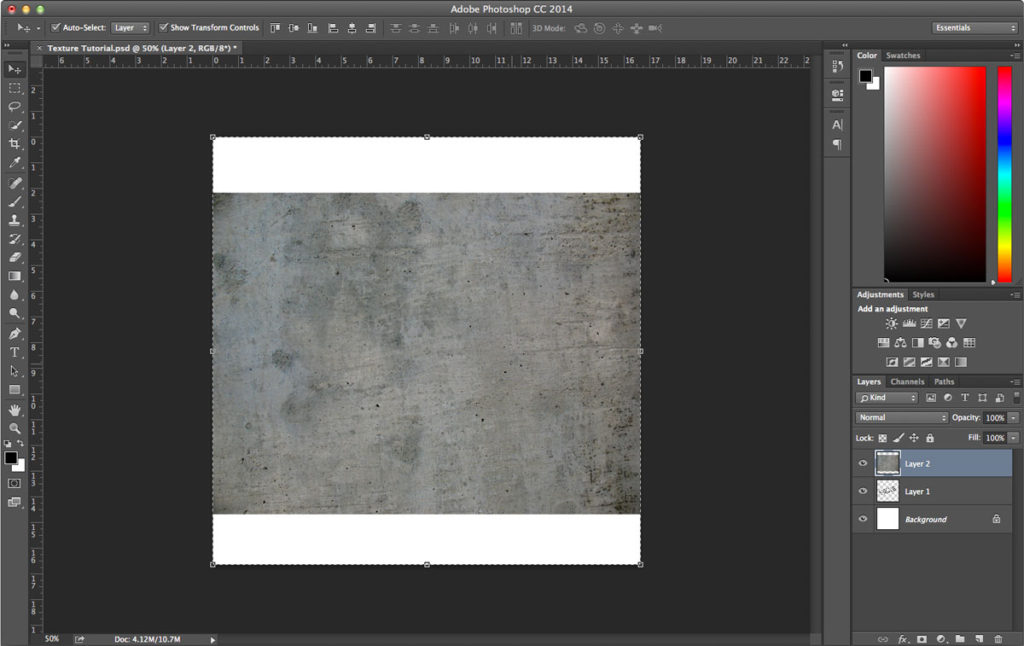
STEP FOUR: Make a selection of the texture layer by selecting all (⌘A) then copy the selection (⌘C).
STEP FIVE: Add a layer mask to the text layer. Then option + click on the mask.
Now paste (⌘V) the texture in that mask. Then deselect (⌘D). You can now hide the texture layer. You won’t need that anymore. I usually don’t delete it just in case I want to redo my texture or something later.
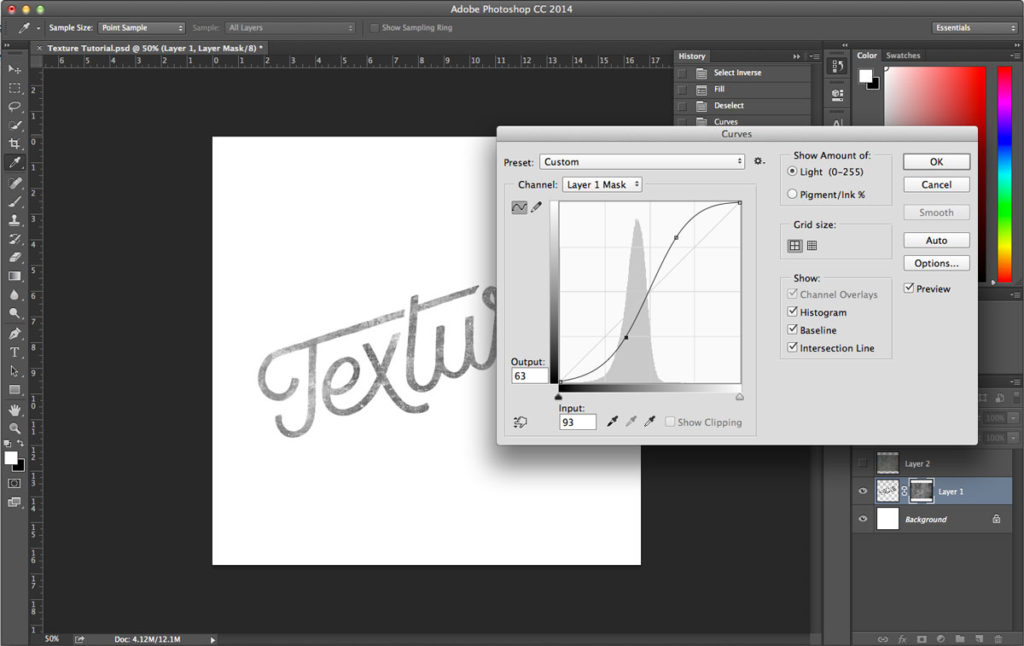
STEP SIX: Next we need to adjust the texture. Bring up the curves palette for the mask layer (⌘M) and start adding contrast. I usually adjust it, click ok, then bring up the curves palette and keep adjust it a few more times until I get it how I want it.
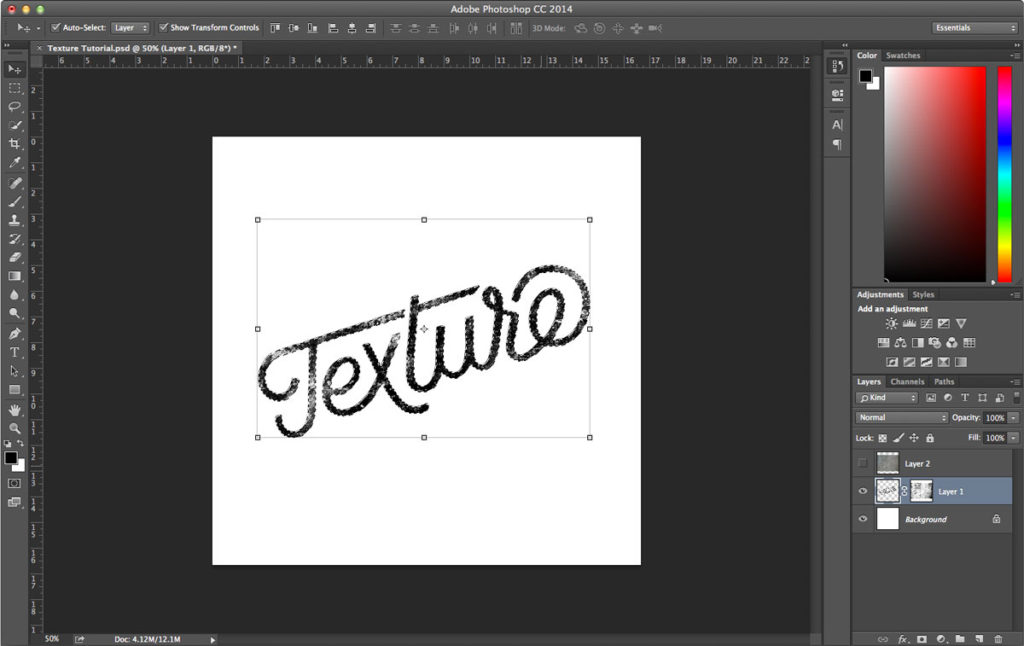
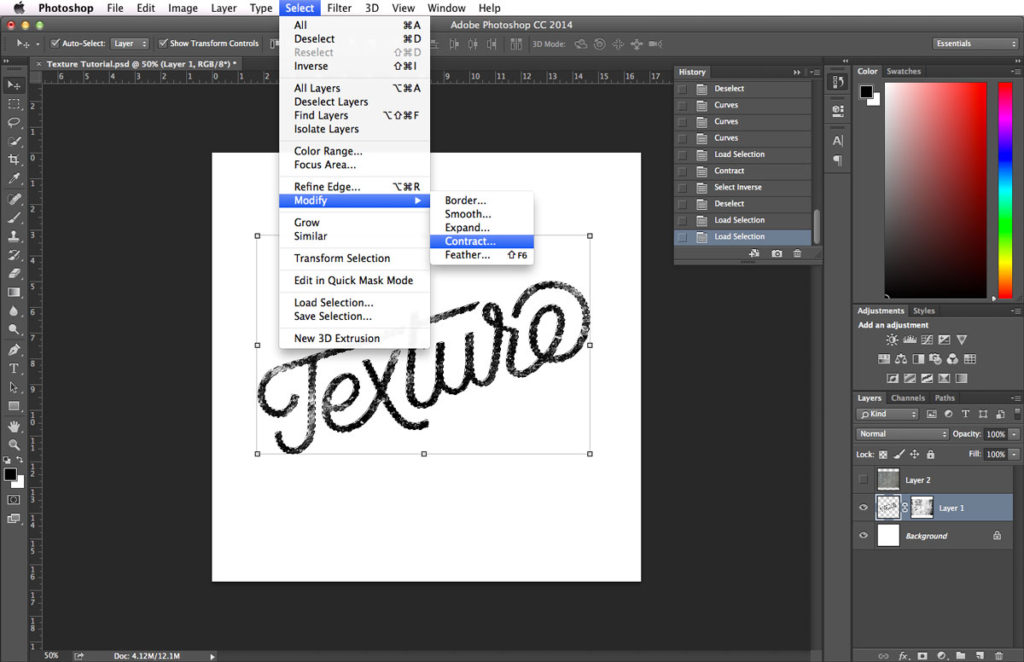
STEP EIGHT: Now adjust that selection by going to SELECT > MODIFY > CONTRACT and contracting by 8px (this number may change based on the size of your document or preference). Then invert that selection SELECT > INVERSE.
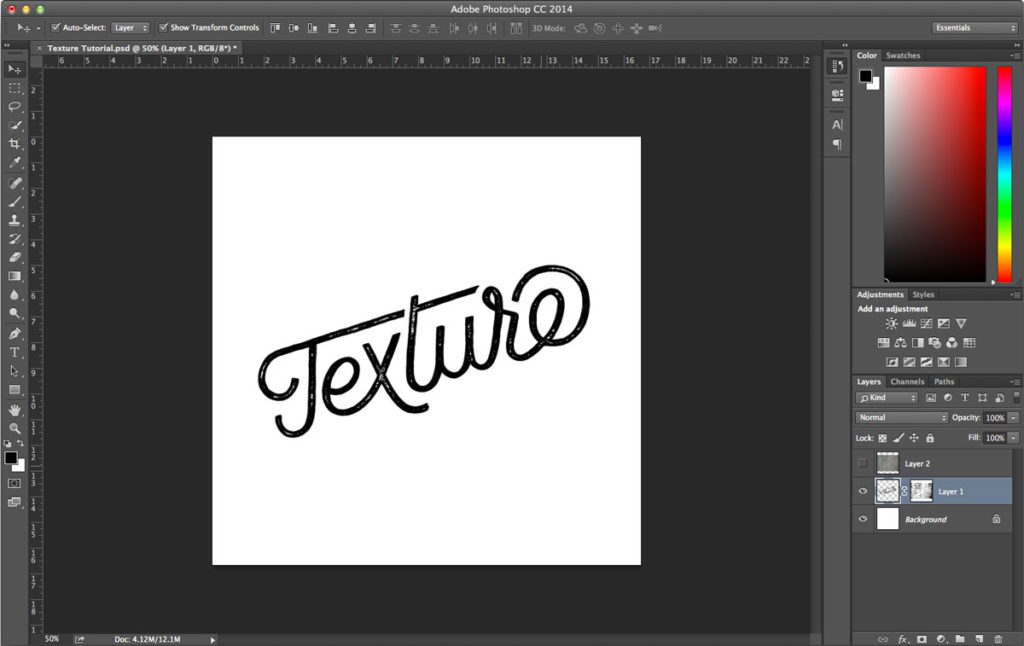
STEP NINE: With the mask selected in the layers palette and your foreground color set to black, hit ⌘+delete to fill the mask with the selection, getting rid of the texture around the edges of the text. You can adjust the curves of the layer mask more if you need to and fine-tune the texture by brushing out any pieces you don’t want. Then you’re done!
