Featured on Victory Paper
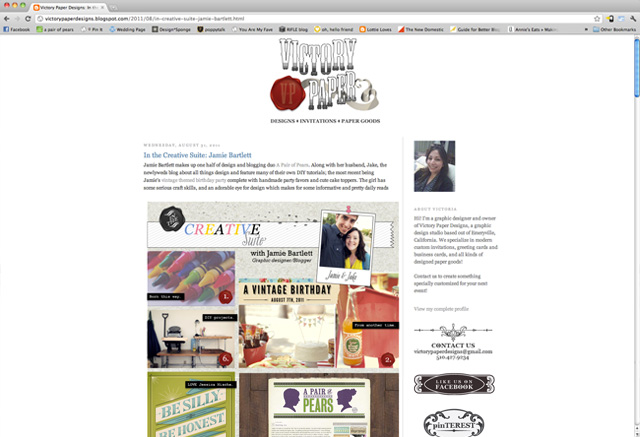
A fellow blogger emailed me a few weeks back asking if she could interview me for her “In the Creative Suite” column. Of course I said yes. I had a lot of fun answering the questions and sharing my thoughts with her. Thanks for interviewing me Victoria! You can check out the interview on her blog here
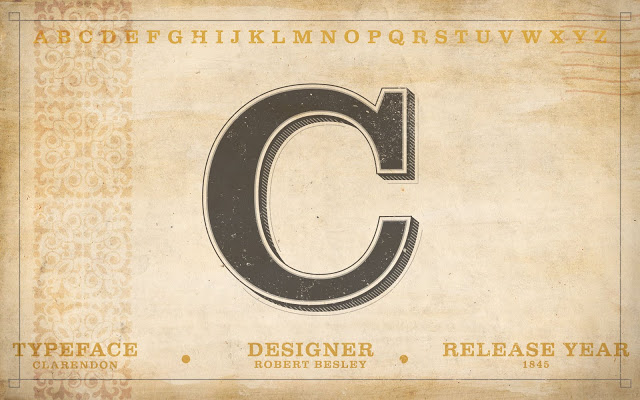
The Face of Type “C”
Below are links to download images based on your screen’s resolution. If your resolution isn’t available just leave a comment with your desired resolution and we would be happy to add another size to our list. I’ve already put it on my phone’s wallpaper and it looks sweet!
Please read the Conditions of Use before downloading files from A Pair of Pears.
Charting the Beatles
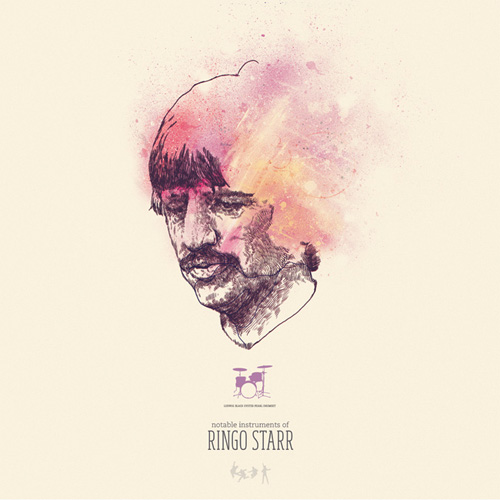
I just recently came across these illustrations of the Beatles created by Oliver Barrett for his Charting the Beatles project. Aren’t they just lovely? I’m starting to run out of space on the walls of our little apartment, but I think I could make a little more room for these. Prints are available at imagekind.
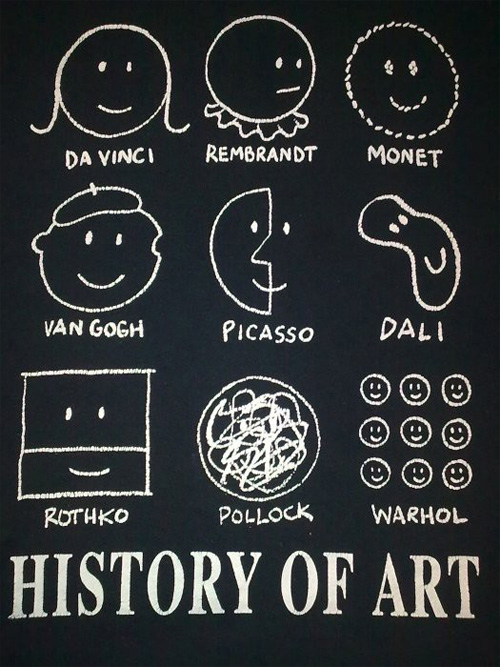
Morning Brew: Art History
If you missed the chance to take an Art History class in college, here is the basic gist of it. In all seriousness though, take some time today to view these artist’s real masterpieces. I think it would be refreshing.
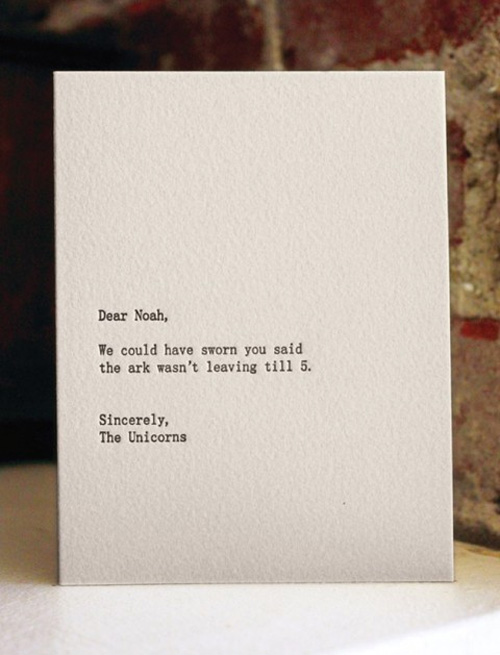
Morning Brew: Dear Noah
I came across this photo this morning. It made me laugh, so I thought I would share it with you.
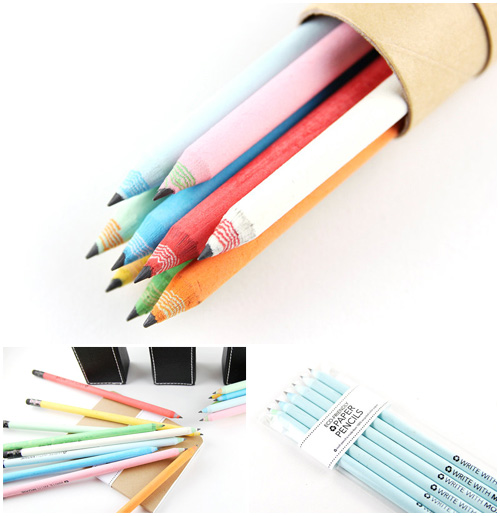
Finders Keepers: Eco-Friendly Paper Pencils
Just in time for back to school. They would make me want to do my homework. These pencils are made with layers of 100% recycled paper. As you sharpen them you get to see all the colorful patterns the layers make. Available on Etsy at Moxie Pear.
Knitting 101
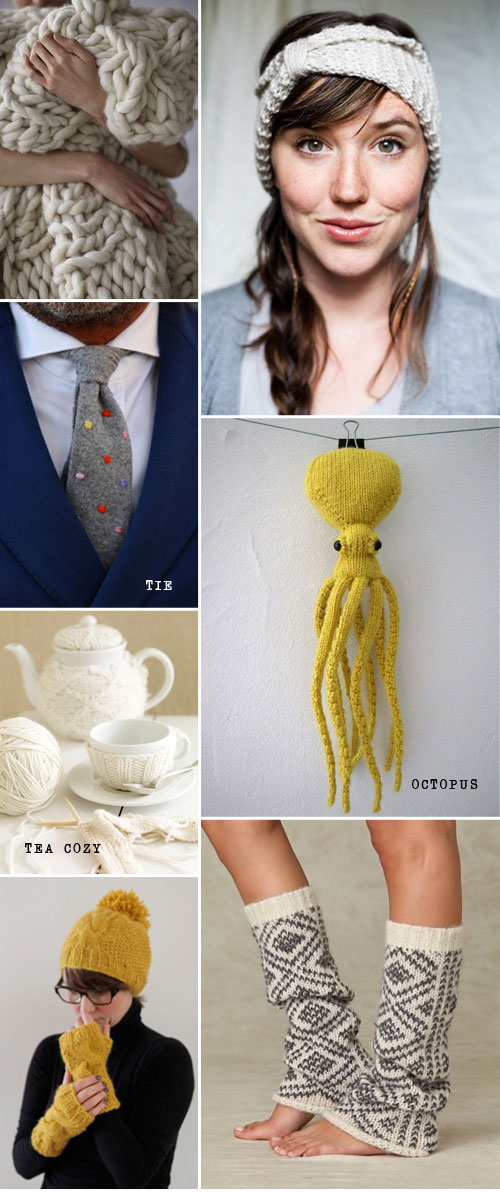
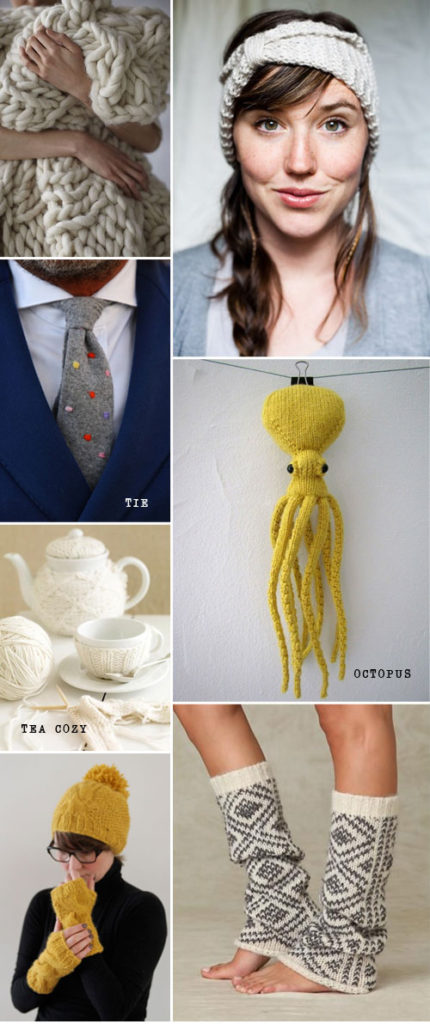
Lately I’ve been in a mood for Fall. Fall is my favorite season. You get to start wearing warmer clothes and drinking hot apple cider. I’m getting excited just thinking about it. I love all things Fall! I came across a bunch of knitted items and thought they were so lovely, so in an effort to help Fall hurry up and get here, I decided to learn how to knit (or rather re-learn). I taught myself back in high school, but forgot everything. In my quest to re-learn knitting I found this blog called Craft Snob where there are videos on the basics of knitting. They we so easy to follow that I re-learned all the basics last night! The headband pictured below is first on my list to make. My friend Erika also knits, so I think a knitting night will be in the works very soon.
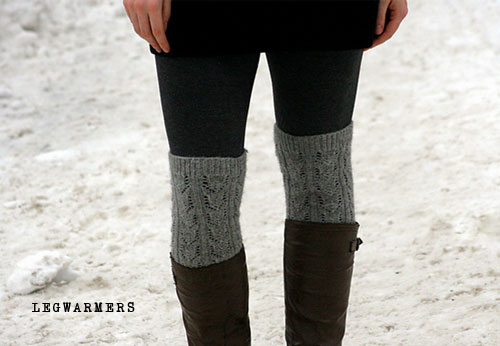
Source Left to Right: 1. Cozy Blanket; 2. Headband; 3. Men’s Tie; 4. Semolina Octopus; 5. Tea Cozy;
6. Peruvian Legwarmers; 7. Lace Legwarmers
Some of these projects are probably out of my reach for a while, but I can dream. Jake and I are headed to Michigan for Christmas this year. It’s the perfect excuse to learn something new for the cold weather.
DIY Vintage Party
- Cake: We made a delicious snickerdoodle cake with brown sugar buttercream
- Food: Watermelon and button butter cookies
- Drinks: Pop in glass bottles
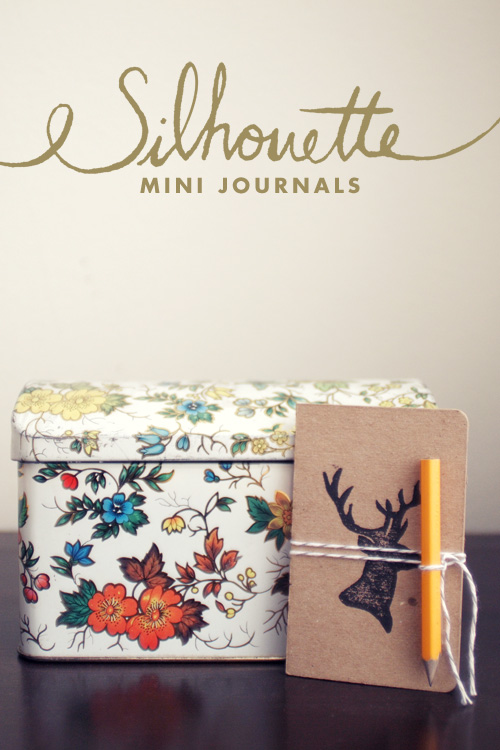
- Party Favors: Mini Journals
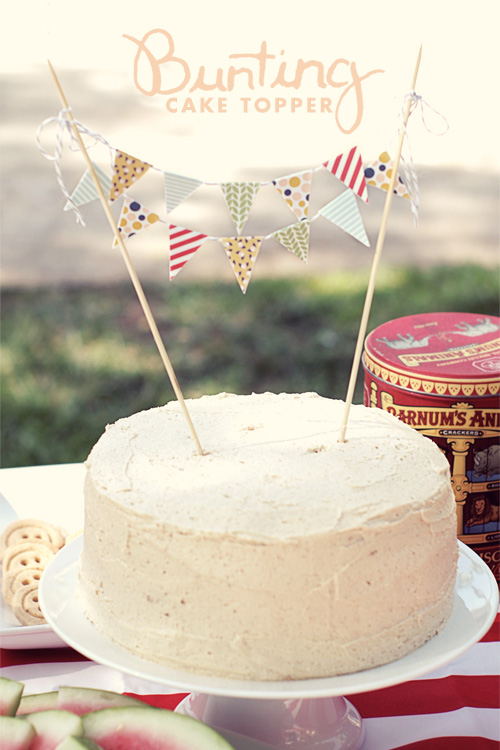
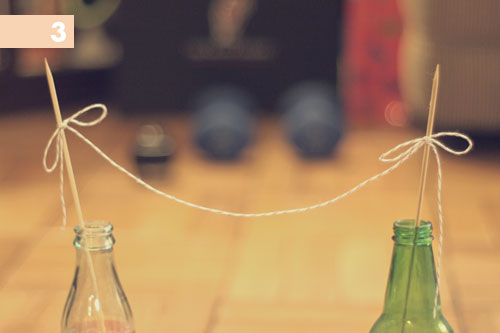
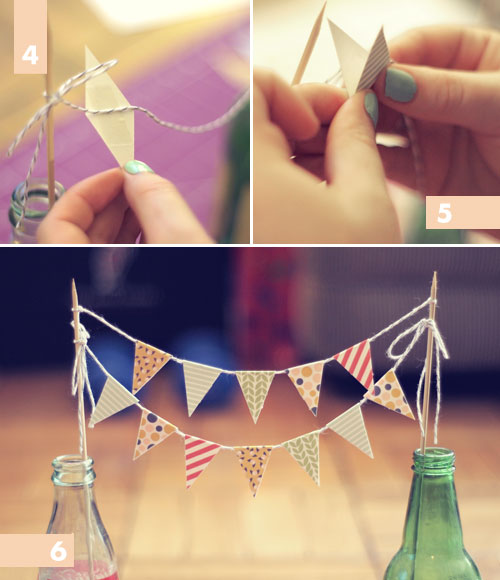
- Decor: Bunting cake topper, vintage tins & crates, paper straws, quilted picnic blankets
- Games: Croquet, ladder ball, horse shoes, and bocce
- Pencil
- Scissors
- Paper
- Compressed cardboard or heavy paper for the cover. (I used some cardboard that was used to keep a picture I ordered from bending in the mail.)
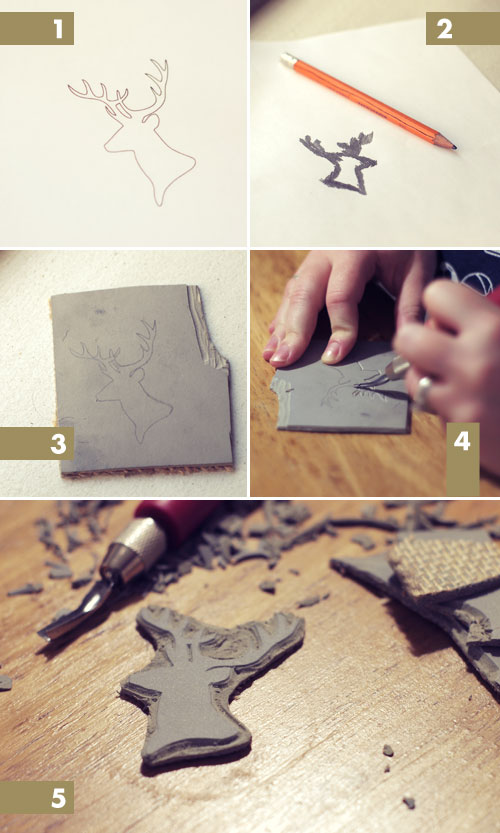
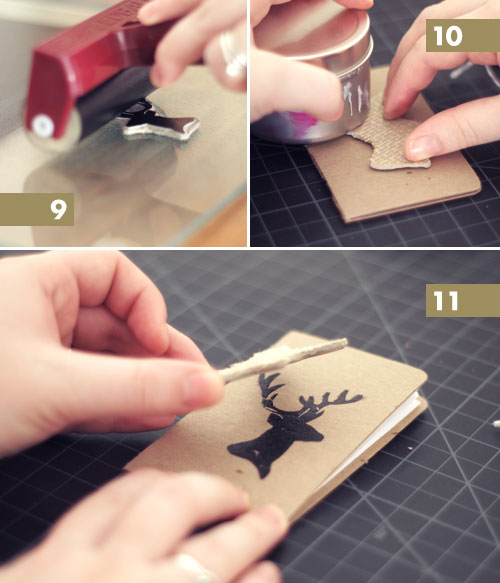
- Linoleum
- Linoleum Cutter (this is the one I have)
- Brayer
- Block printing ink
- String
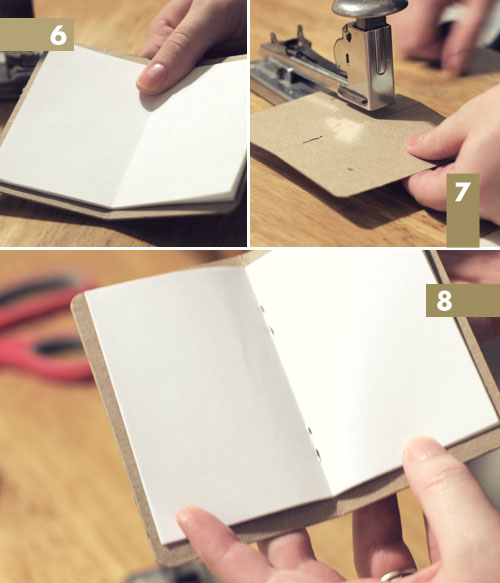
Step 6: Now we need make the journal. Cut a 5″x 4″ piece for your cover. Lightly score where you will fold the journal in half. Then cut 8 sheets of printer paper to 4.75″x3.75″ for the inside.
Step 7: Stack all the sheets up and center them in the inside of the cover. Turn it over and staple in two spots.
Step 8: Carefully fold the journal in half using the scored line as a guide.
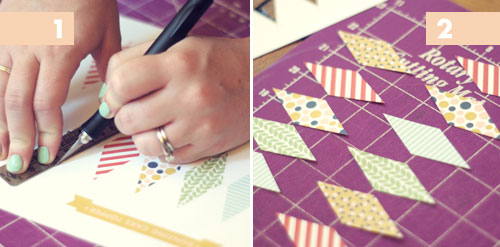
- Xacto knife
- Ruler
- Wooden skewers
- String
- Double stick tape
- Bunting design
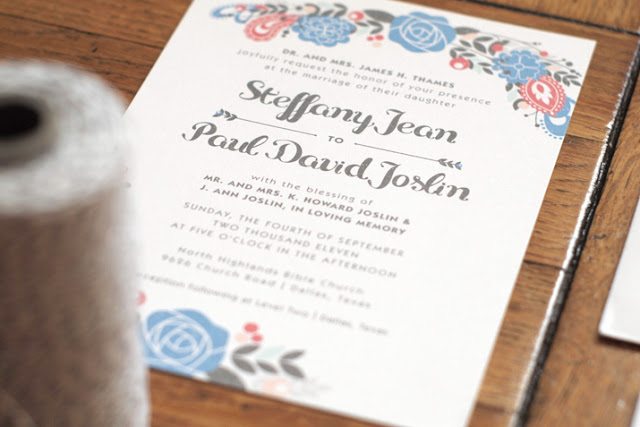
Wedding invitation
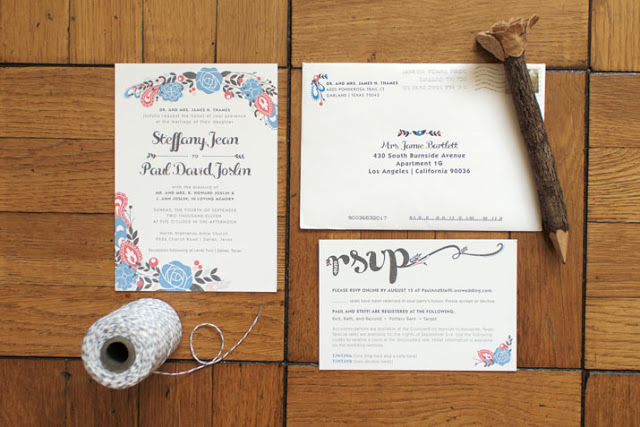
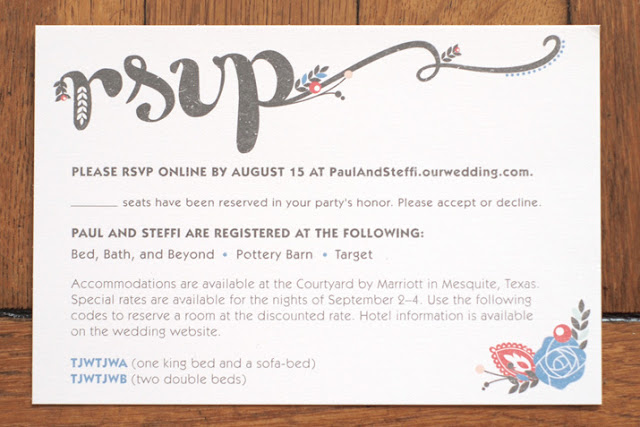
You might have already seen this invitation in our design gallery we put up last week, but I wanted to write a post about it too just in case you missed it.
I love it when people come to me wanting wedding invitations. It’s such a different feel from the more corporate designs we do, which it why I love it. The Bride was such a pleasure to work with. She came to me with an idea of what she wanted, but for the most part let me have creative freedom to design something beautiful for her special day. She loved them and even told me that after she sent them out, her guest were calling and texting her telling how much they loved the invitations! That’s what I like to hear.
Showing 581–590 of 785 results
